Our Complete Basement Renovation
I can't explain just how proud I am of this renovation, or of my husband who stuck by me through it all, from the first brainstorming photo until the last shelf was placed. It's the first home project we tackled together and I love our results! Sure...we've painted, ripped up carpet and installed chair rails. But this was bigger! This was creating something from nothing. This was a great metaphor for our marriage.
I heard a bit of homeowner's advice once...something like new owners should take a year before renovating or fully decorating their house. Well...we took five. Sure, we had grand ideas of what we envisioned our basement to be, but we had neither the money nor the know-how to get it done as quickly as we'd hoped. For two years it was really just used as a basement; a storage facility we rarely entered. Then we had a couple kids and thought "what a great playroom!" Once we were expecting our fourth baby, we decided to get serious and reclaim the wasted space.
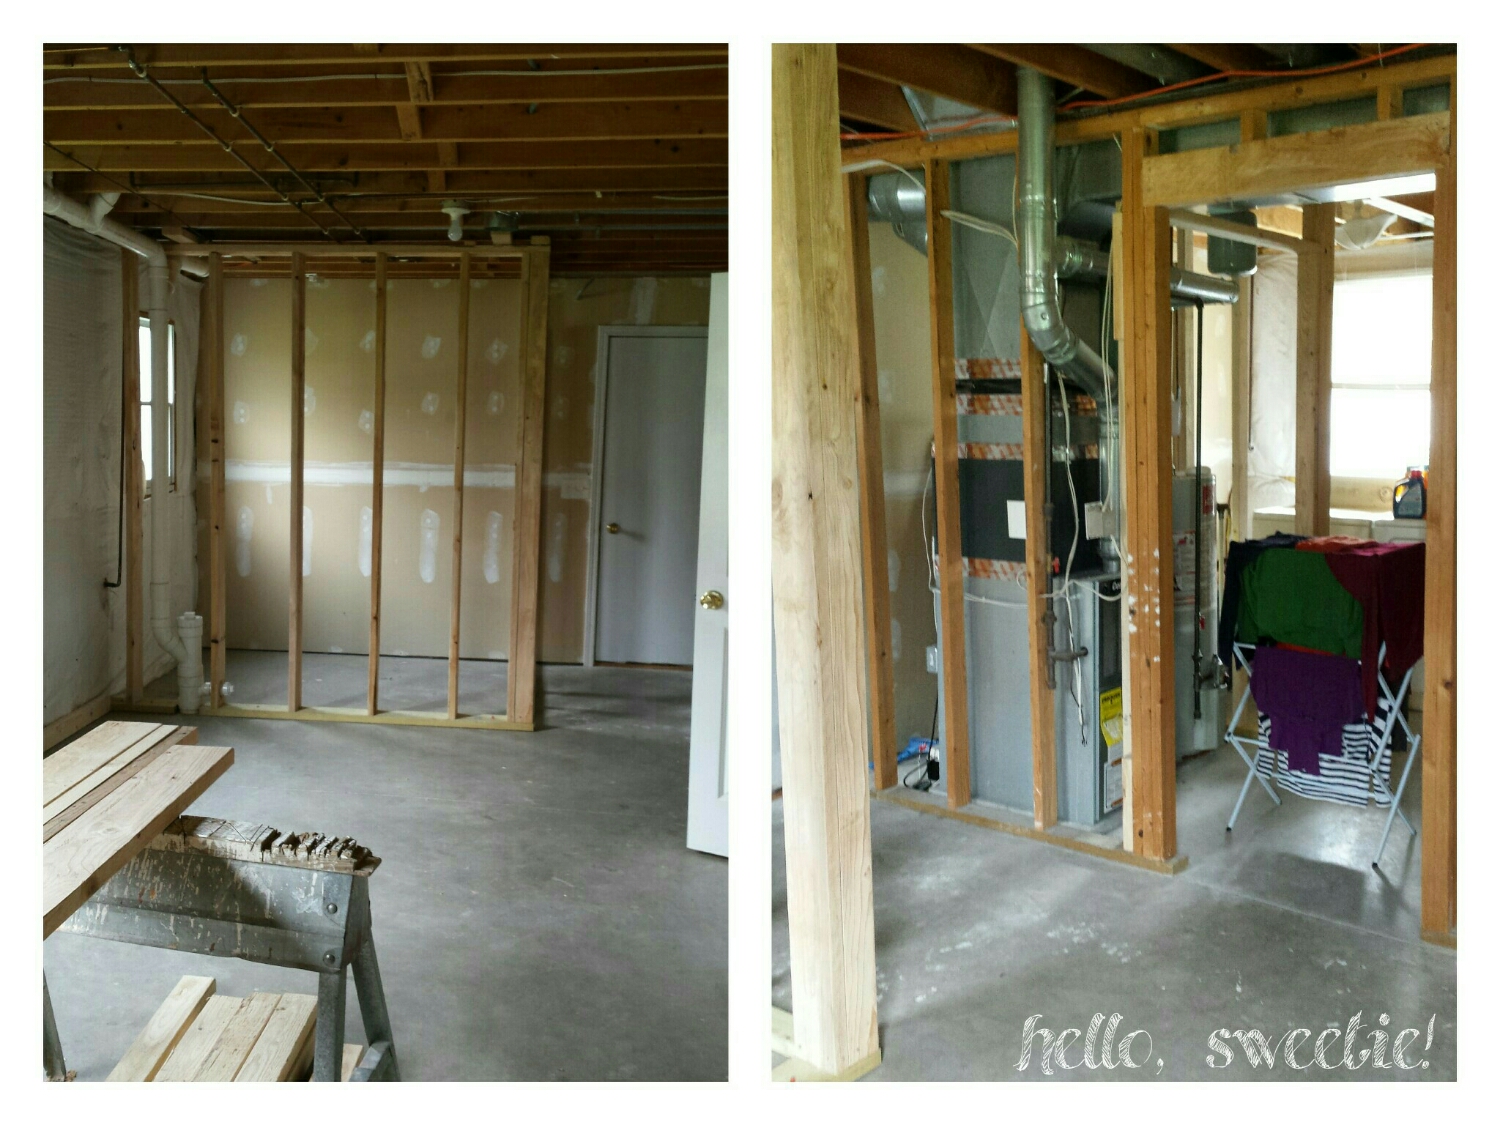
Just after clearing out the plethora of toys
Framing out the laundry & bathroom
drywall made it seem instantly finished, but smaller!
We began by closing in the laundry room, and then finally designed a half bathroom around the hole in the ground that was to be a toilet. New insulation and drywall were added plus a drop ceiling with recessed lighting. It was finally starting to feel like a living space! At the concern of our contractor, I designed the fireplace myself. (I spend enough time on Pinterest to know what I like!) Luckily, they went ahead with my design and it turned out beautifully...completed with mosaic tiles, recessed wood panels and a substantial mantle. The paint color ("Functional Grey" by Sherwin Williams) and flooring are what really sealed the deal for me. I could finally see the essence of our style had come to fruition. This was truly the home we created together, not just purchased. It was empty but it was gorgeous!
the paint color complemented the mosaic tiles and flooring perfectly!
Always a collector and recipient of family cast-offs, I wasn't really sure what my decorating style was. I had a few trinkets I'd picked up here and there, but nothing that really stood out as a building block. I really began to take notes on my favorite HGTV shows, magazines and websites. Matt would offer his suggestions...likes and dislikes, and it steered me in the direction of our new-found joint style. As it turns out, that happened to be "Rustic Industrial"! (It's a thing, really!) Once I knew a phrase to search, it made completing our vision much simpler. I fell in love with the warm wood tones and strong but minimalistic metals. That's where the open shelving came in.
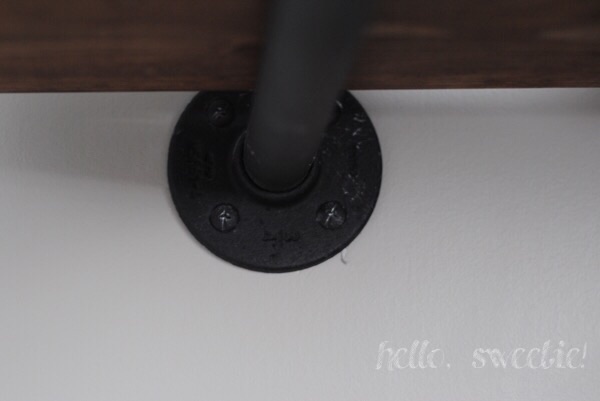
distressed wood planks stained a rich brown color, sit upon sturdy matte black pipes
I didn't do much research into building the shelves. I read a blog or two from people who had installed it in their bathroom. We decided we wanted four shelves on either side of our newly built fireplace. We knew it had to be anchored really well, supporting anything we placed on it. The spacing had to be exactly where we wanted it. It would require multiple holes being drilled into our newly installed/ freshly painted drywall with anchors that are not easily removed.
After being spray-painted, the pipes are secured to the wall with drywall anchors and heavy duty screws
Basically...there was no going back once we started! In hindsight, we might have been able to use PVC for a more inexpensive and lighter option, but we loved that industrial look of real plumber's pipe. Our local Lowes store was super helpful; cutting each pipe to custom length & threading the ends, plus helping me find the most perfect imperfect planks.
perfectly imperfect planks, lightly distressed
We loved the look of our first project so much, we decided to make a long sofa table to match. We were able to salvage a decent sized barnwood plank with the help of a friend. Some light sanding and a coat of the same color stain was all it needed. I loved the old nail and worm holes that were left behind; it instantly brought character to the new piece of furniture. The only problem we ran into was making sure the table was level. It had a slight dip in the center making it difficult to move the legs much further out than we had. Luckily we had just enough space to line them up.
custom furniture can be a perfect, inexpensive addition.
The nearly 5 foot length makes a perfect resting spot for our drink glasses especially since there's not much room for a coffee table in front. Since it's already worn and distressed, I don't worry about water marks from condensation!
a console table we built from reclaimed barnwood and plumber's pipe
poufs are stored under the console table until movie time, then we bring them forward and prop up our feet or sit on them for game night.
Decorating the space has proven to be lots of fun! The trick is spacing purchases out and waiting for the right item to appear. It can be so tempting to go shopping all in one trip at one store but then your home just looks like a Marshalls or Target! I have learned a lot over the past year. Namely, don't hang a gallery wall if either of you are in a bad mood, that is surely the truest test of a marriage! Be sure to include your spouse's favorite items in the decorating scheme. (I can't say I love the Seattle Seahawks garden gnome that sits proudly on our handmade shelves, but I do love that it makes my husband happy!) Lastly, make it comfortable. Yes, our couches may be white, and I do wash them more than anticipated, but it's a space where we live to snuggle in and relax as a family. It's our favorite space...and I think that's because it's 100% us.
home, indeed!


